

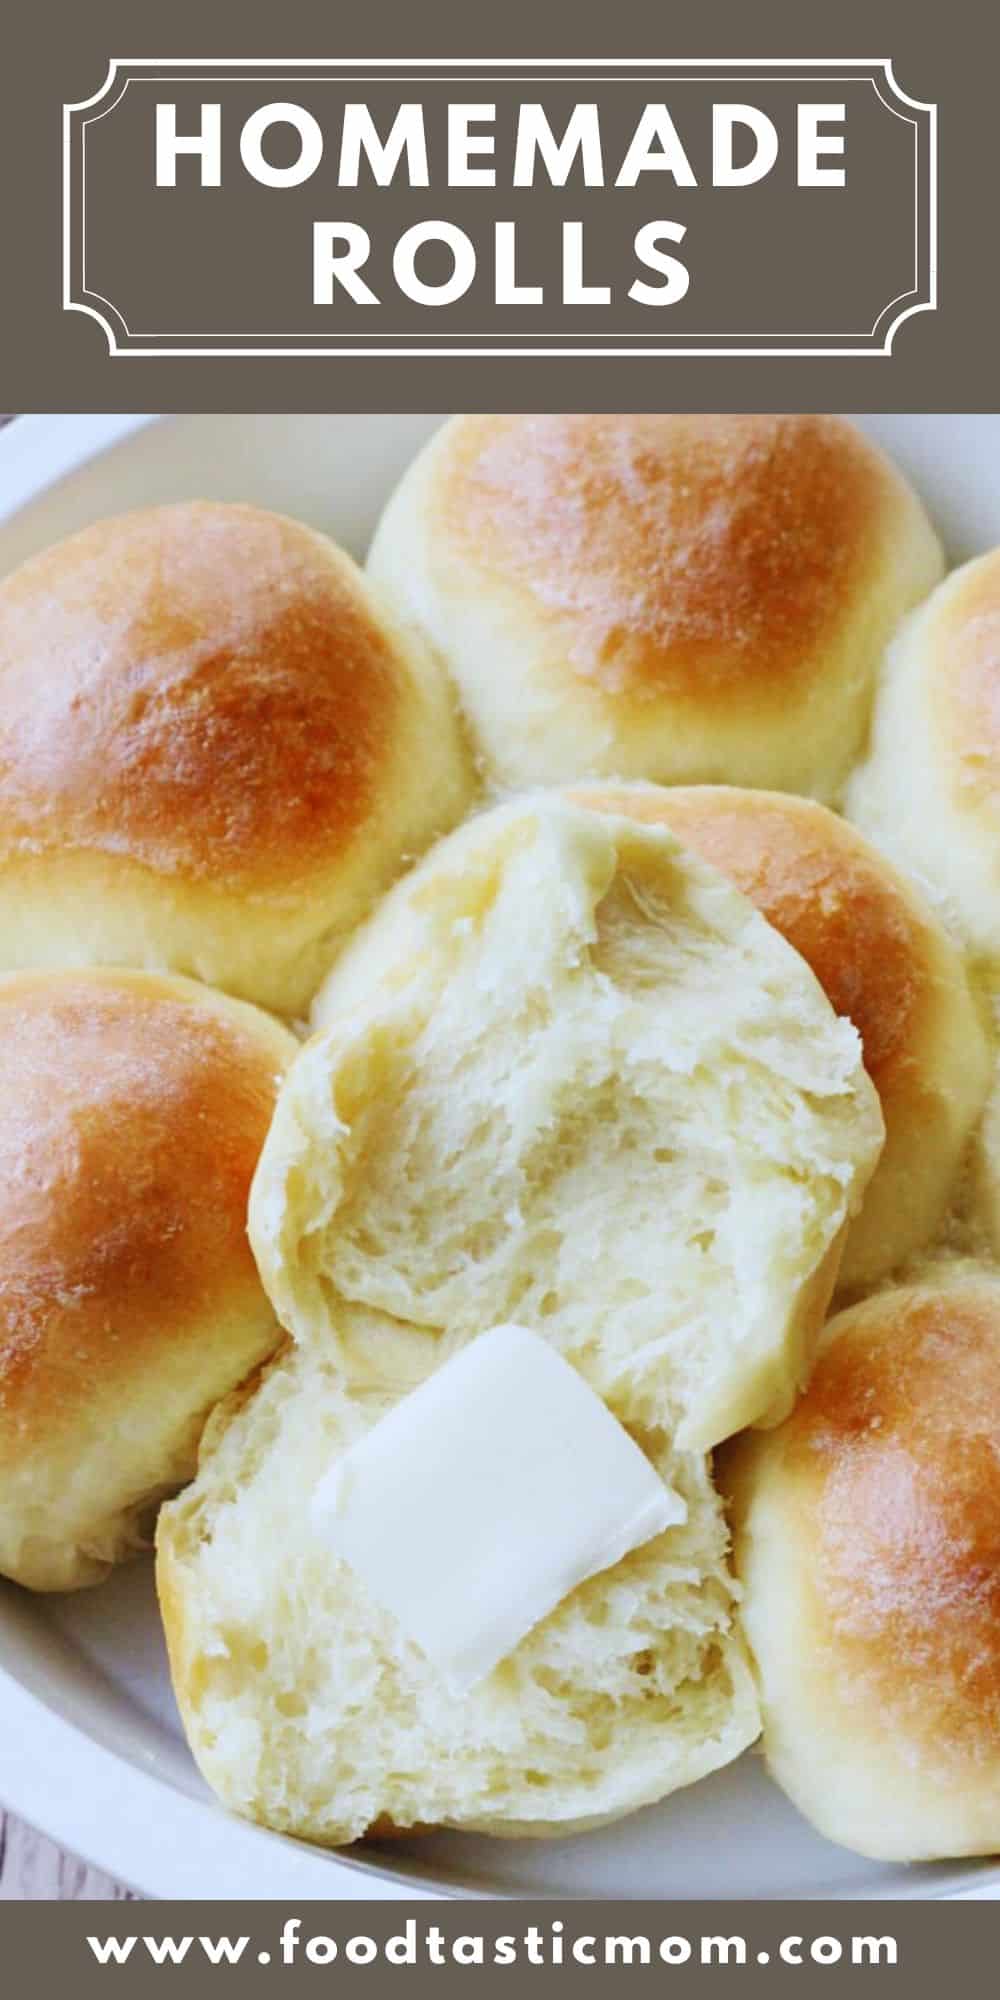
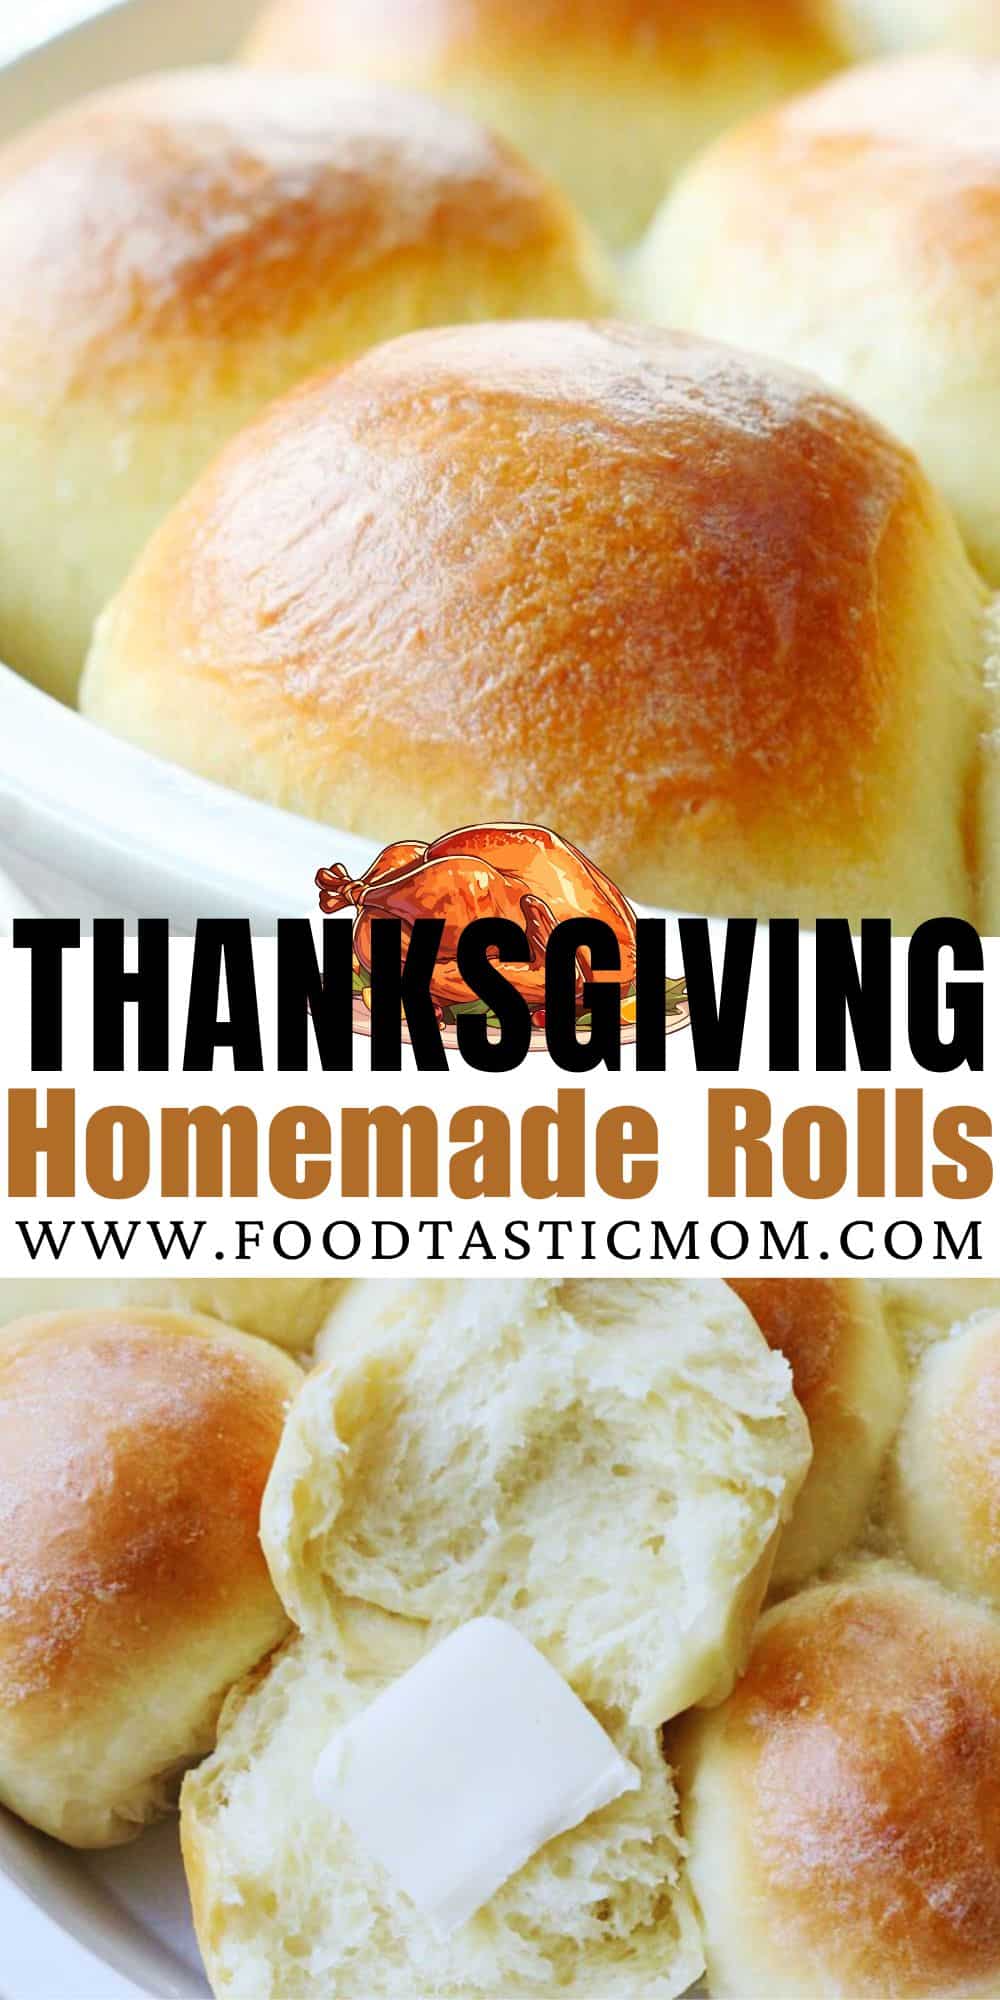
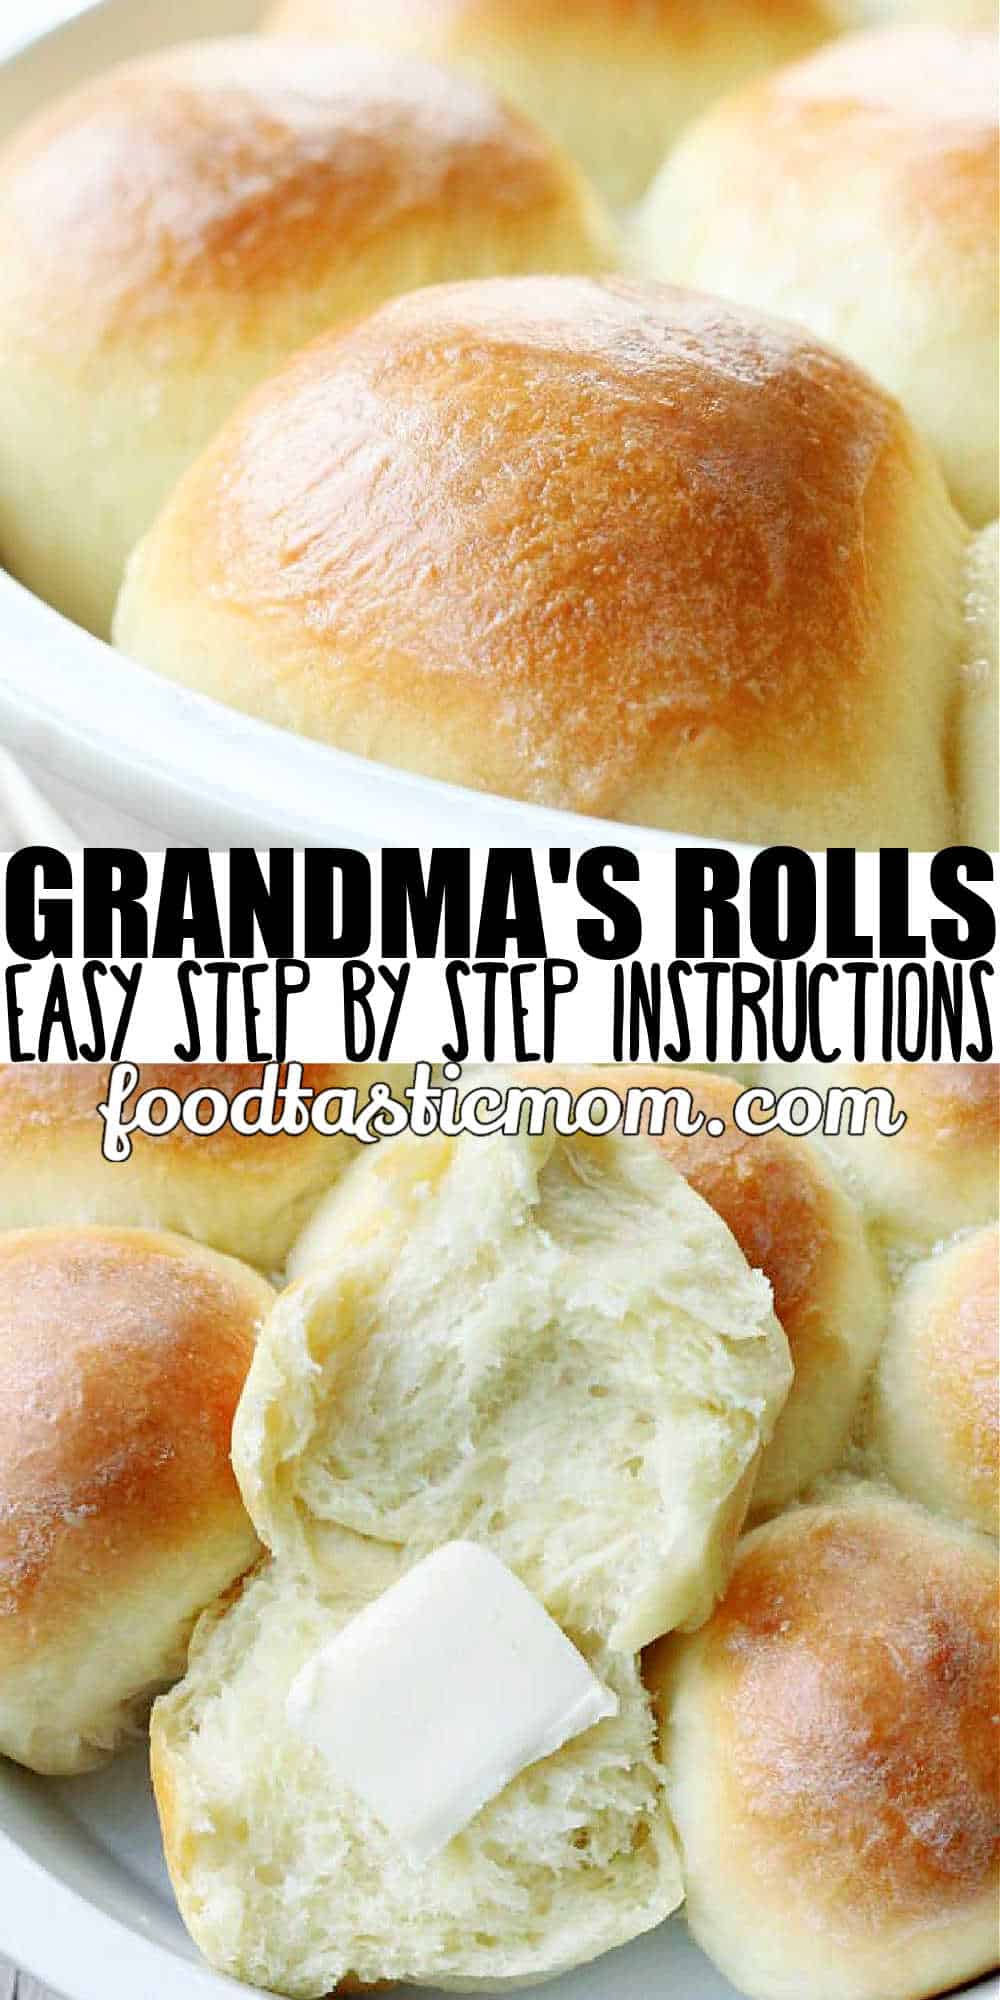
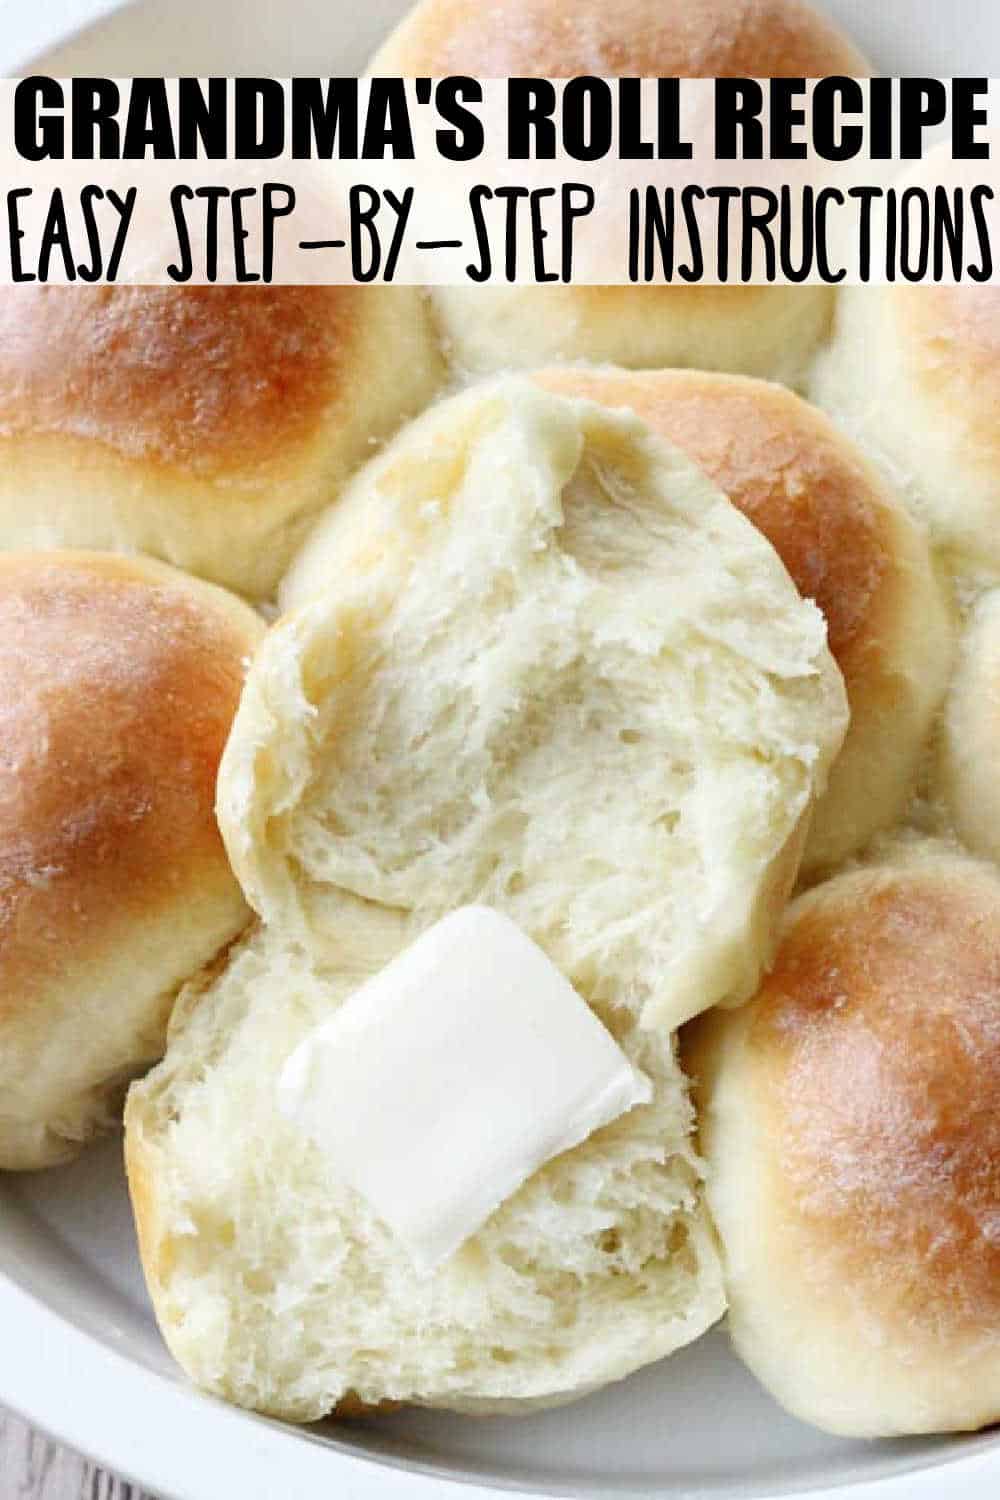
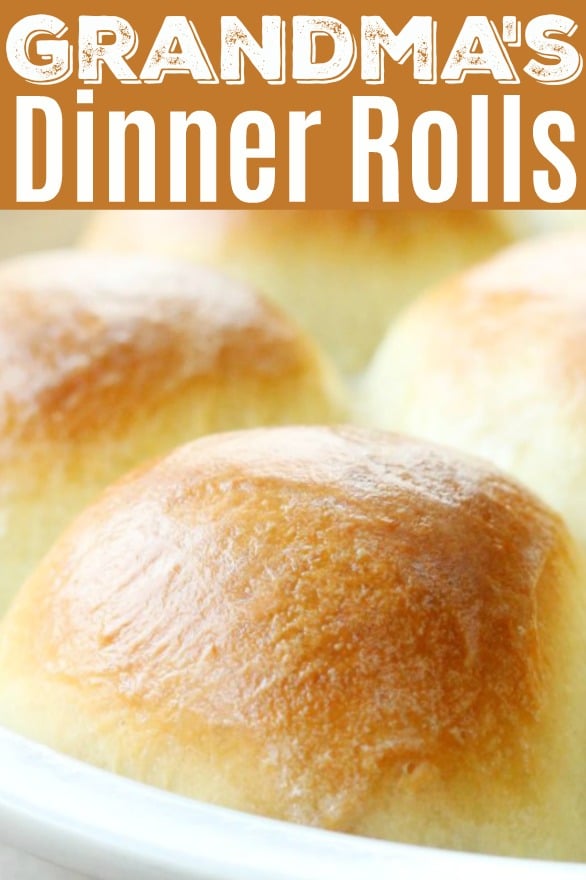
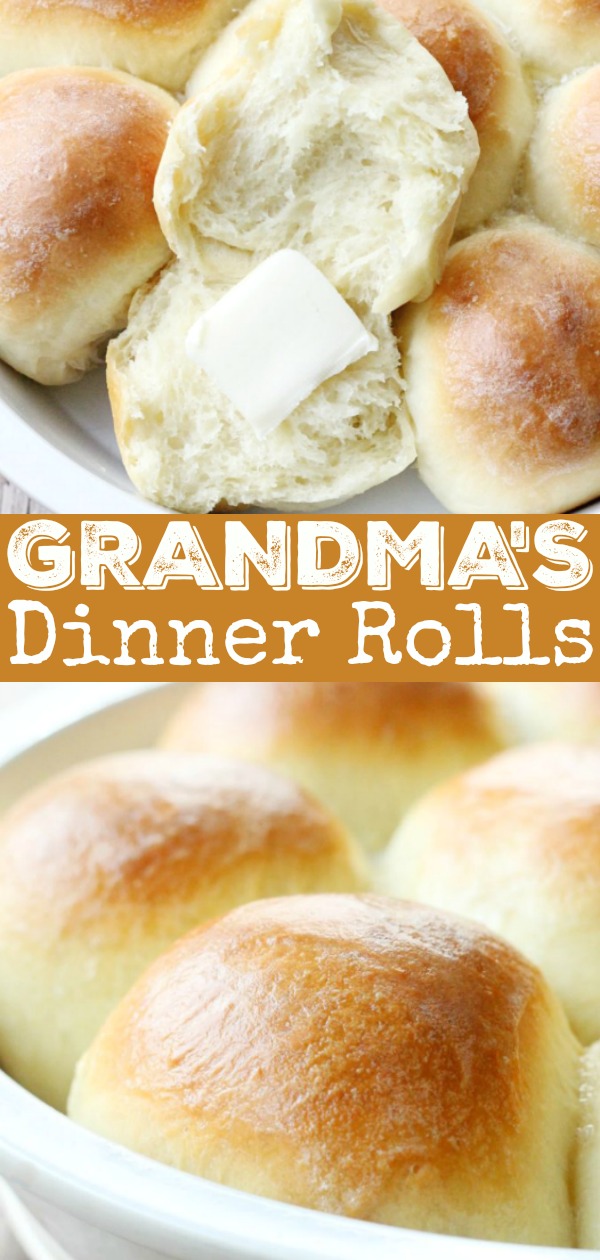

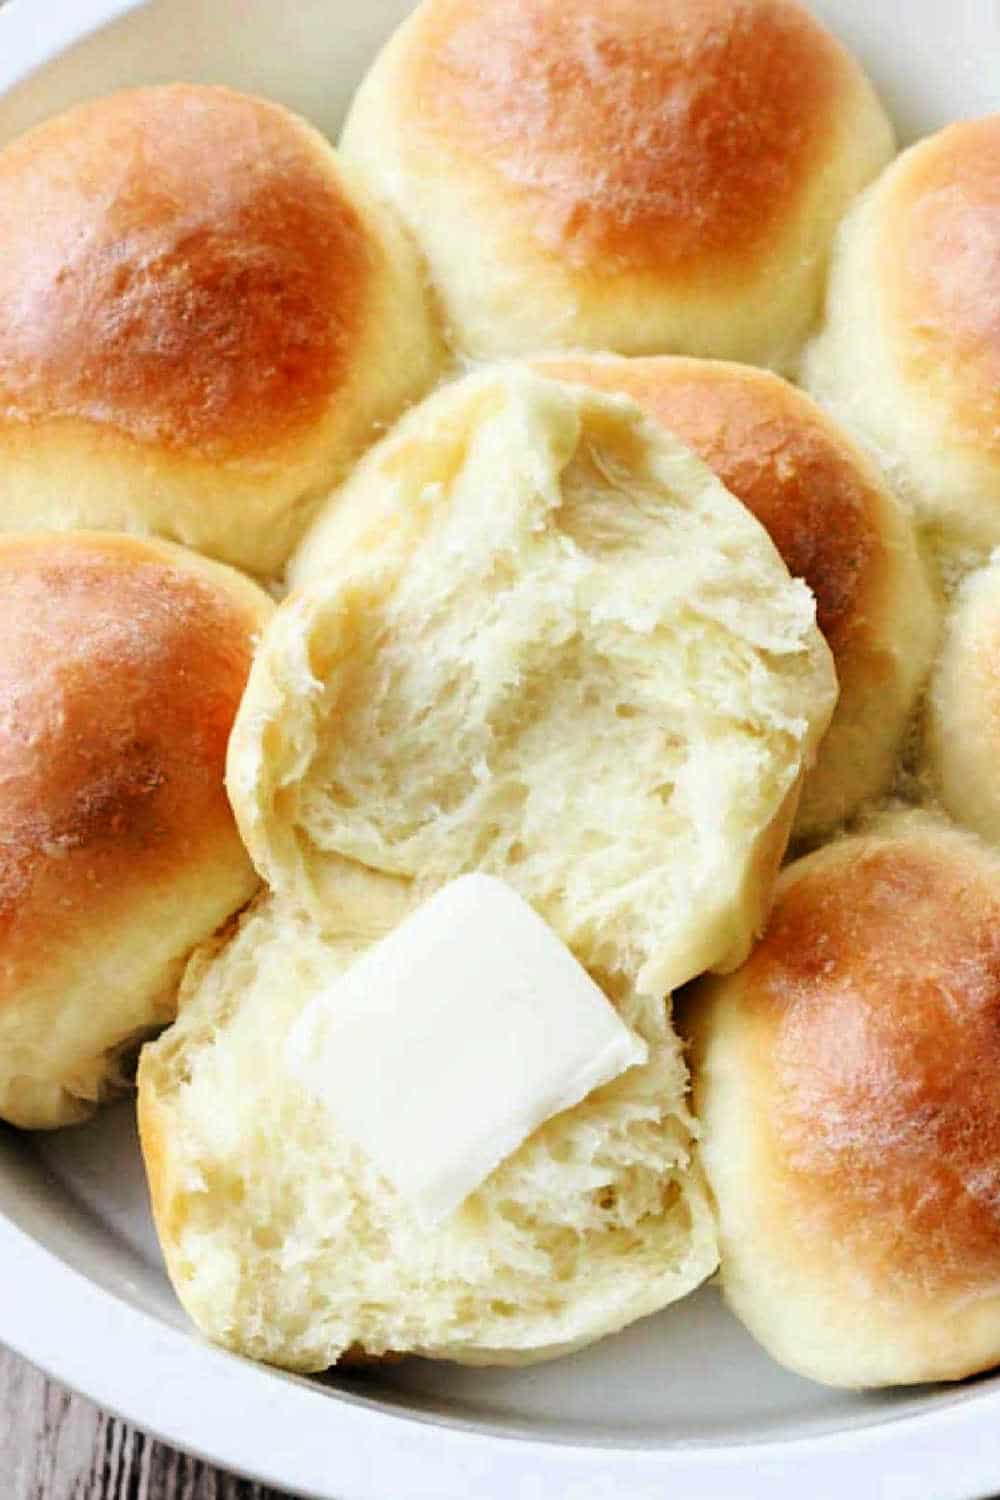
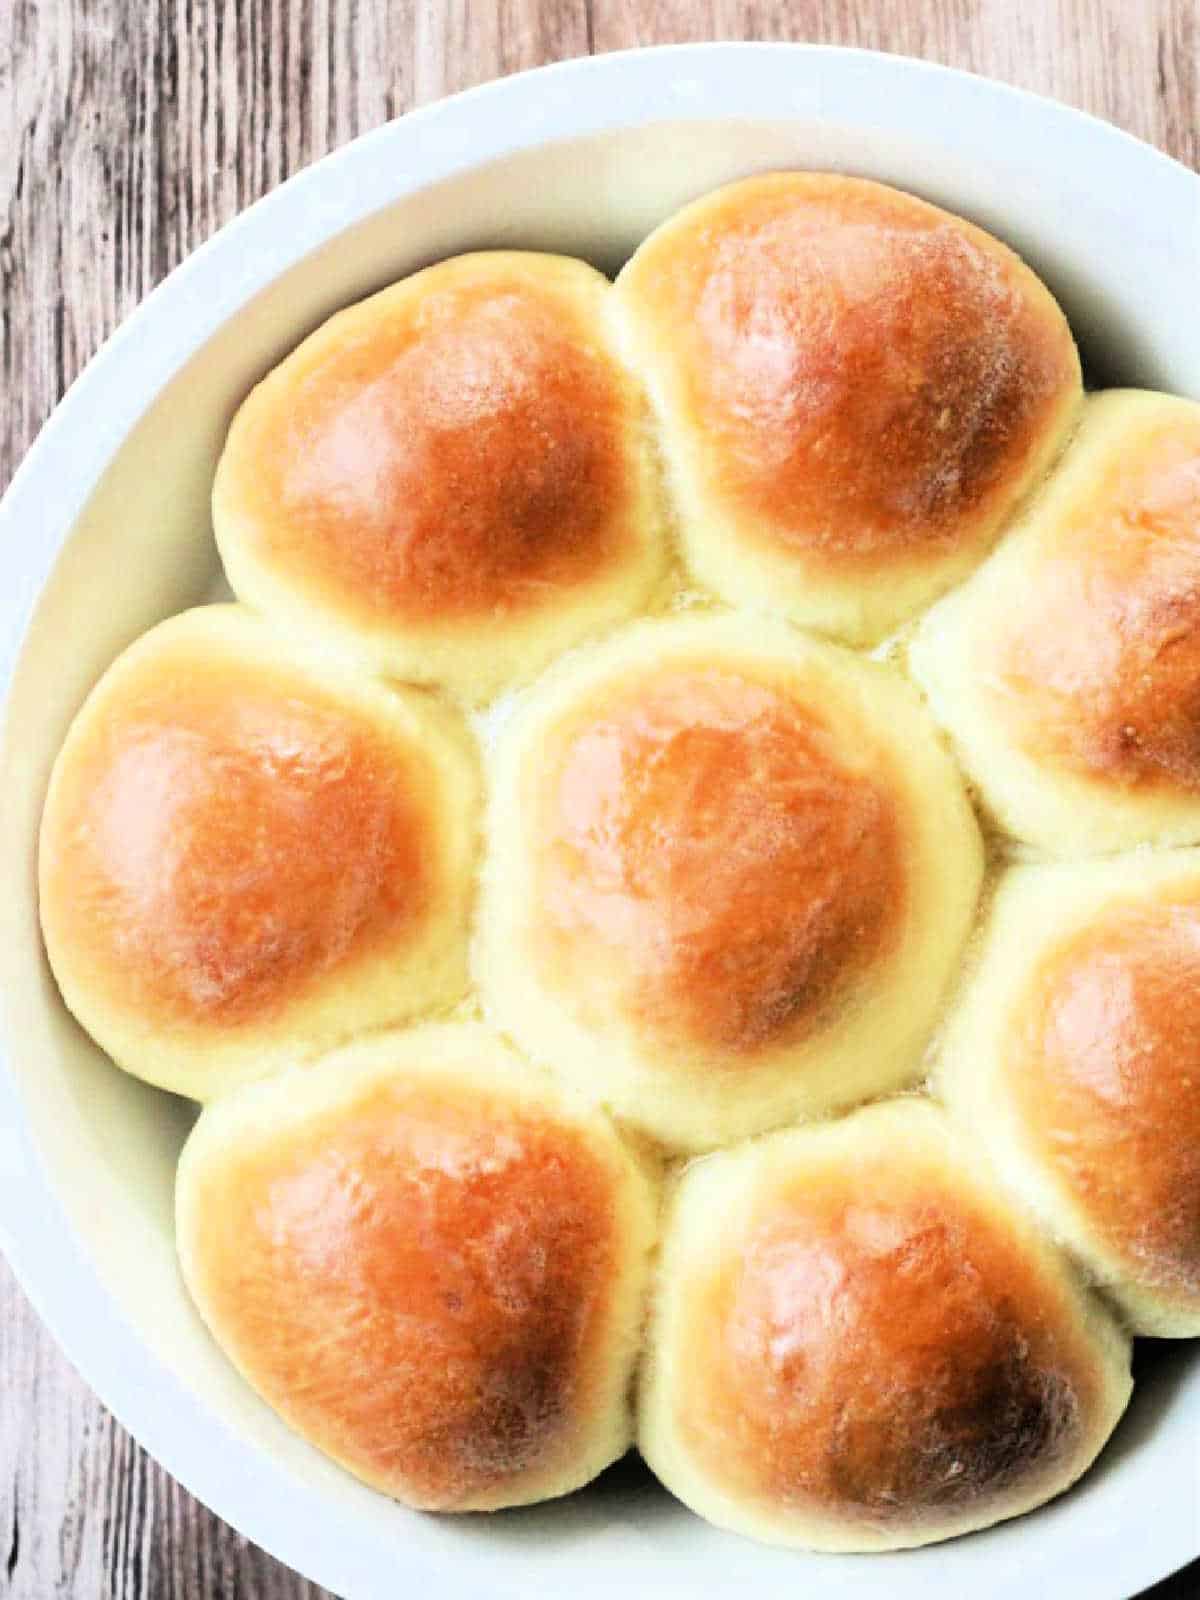
My Grandma’s Dinner Rolls Recipe is practically fool-proof. It is the perfect dinner roll recipe for all your holiday meals.
If you like this recipe, check out my Easy Creamy No Boil Crock Pot Mashed Potatoes next!
Want to save this recipe?
Enter your email & I'll send it to your inbox. Plus, get great new recipes from me every week!
I call these Grandma’s Dinner Rolls Recipe because I follow my own Grandma’s handwritten recipe card to make them. In researching the ingredients, it seems like it was a popular recipe in the 1950’s. But to me this recipe belongs to my Grandma, so I am giving credit to her.
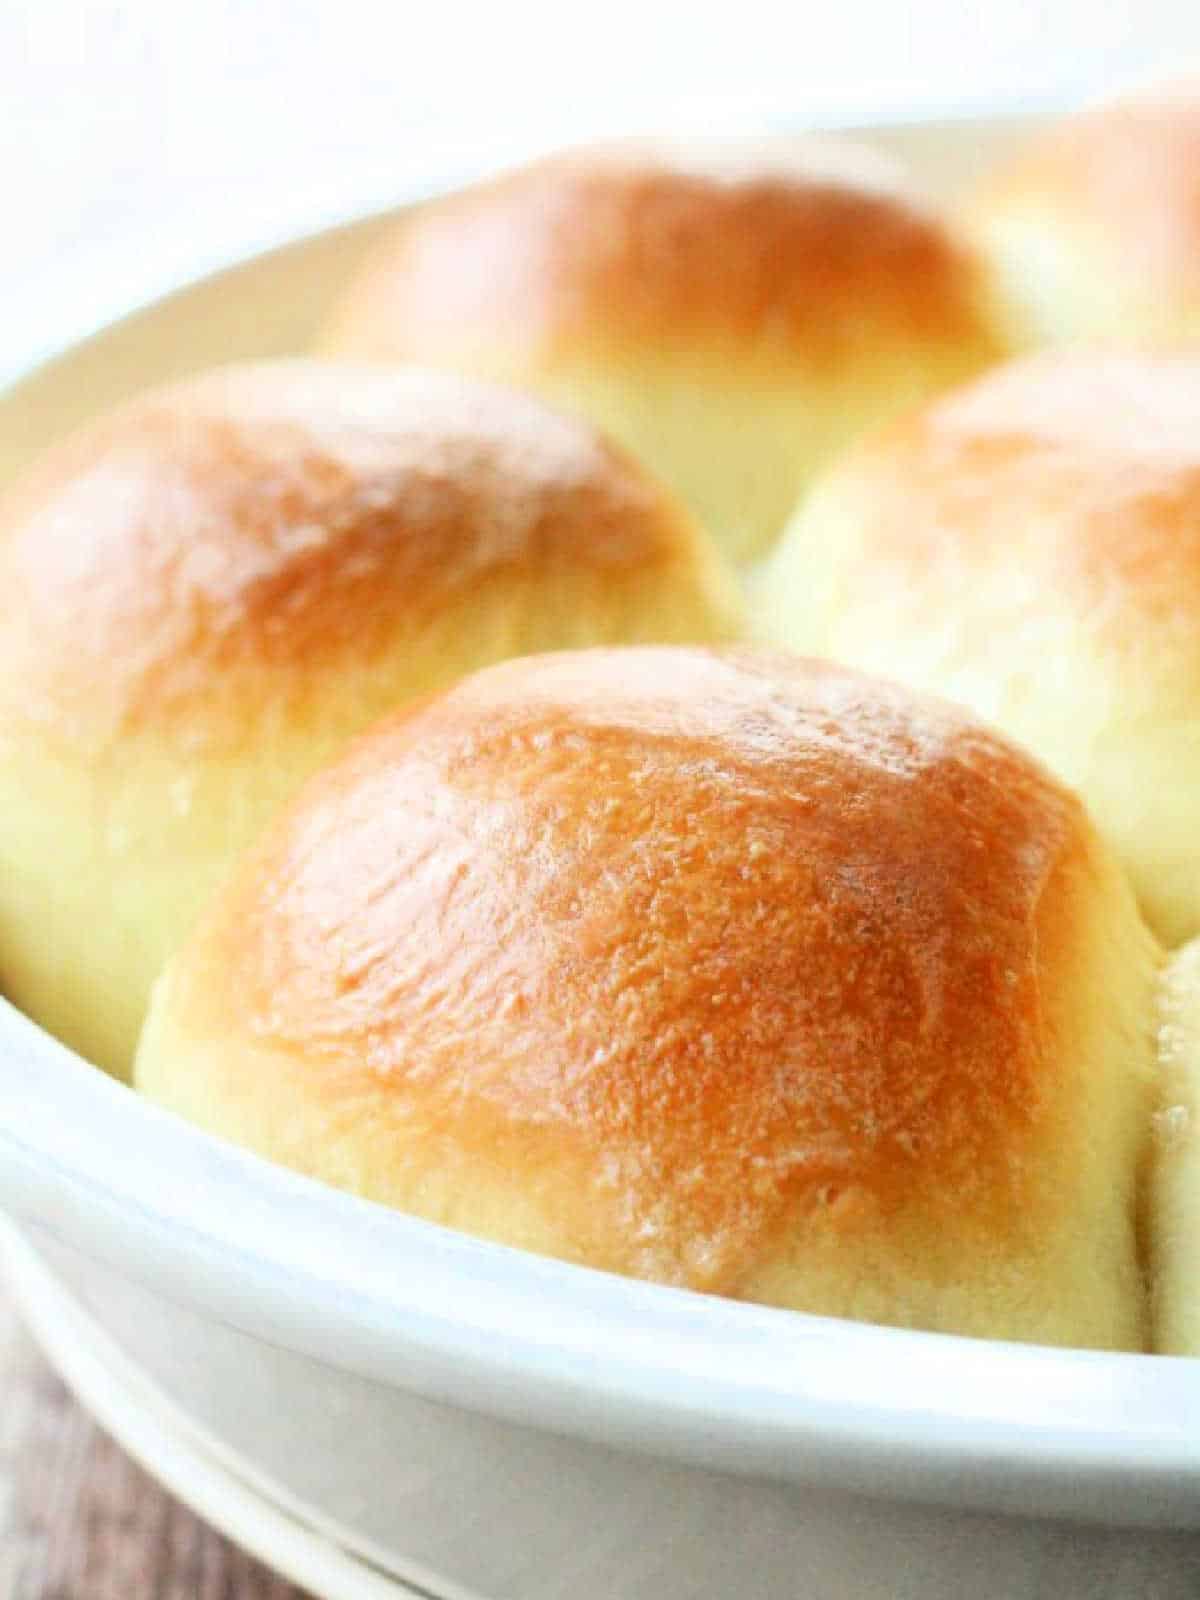
This dinner roll recipe calls for the simplest of ingredients: flour, yeast, sugar, salt, milk, eggs and butter. Using butter is a change I made, as the original did call for shortening, but I am not in the habit of using shortening. I also had to look up how to scald milk and found it can be done easily in the microwave. The reason behind scalding milk in baking is that the whey protein in milk can weaken gluten, causing the dough not to rise properly. Scalding deactivates the protein. (source: The Kitchn)
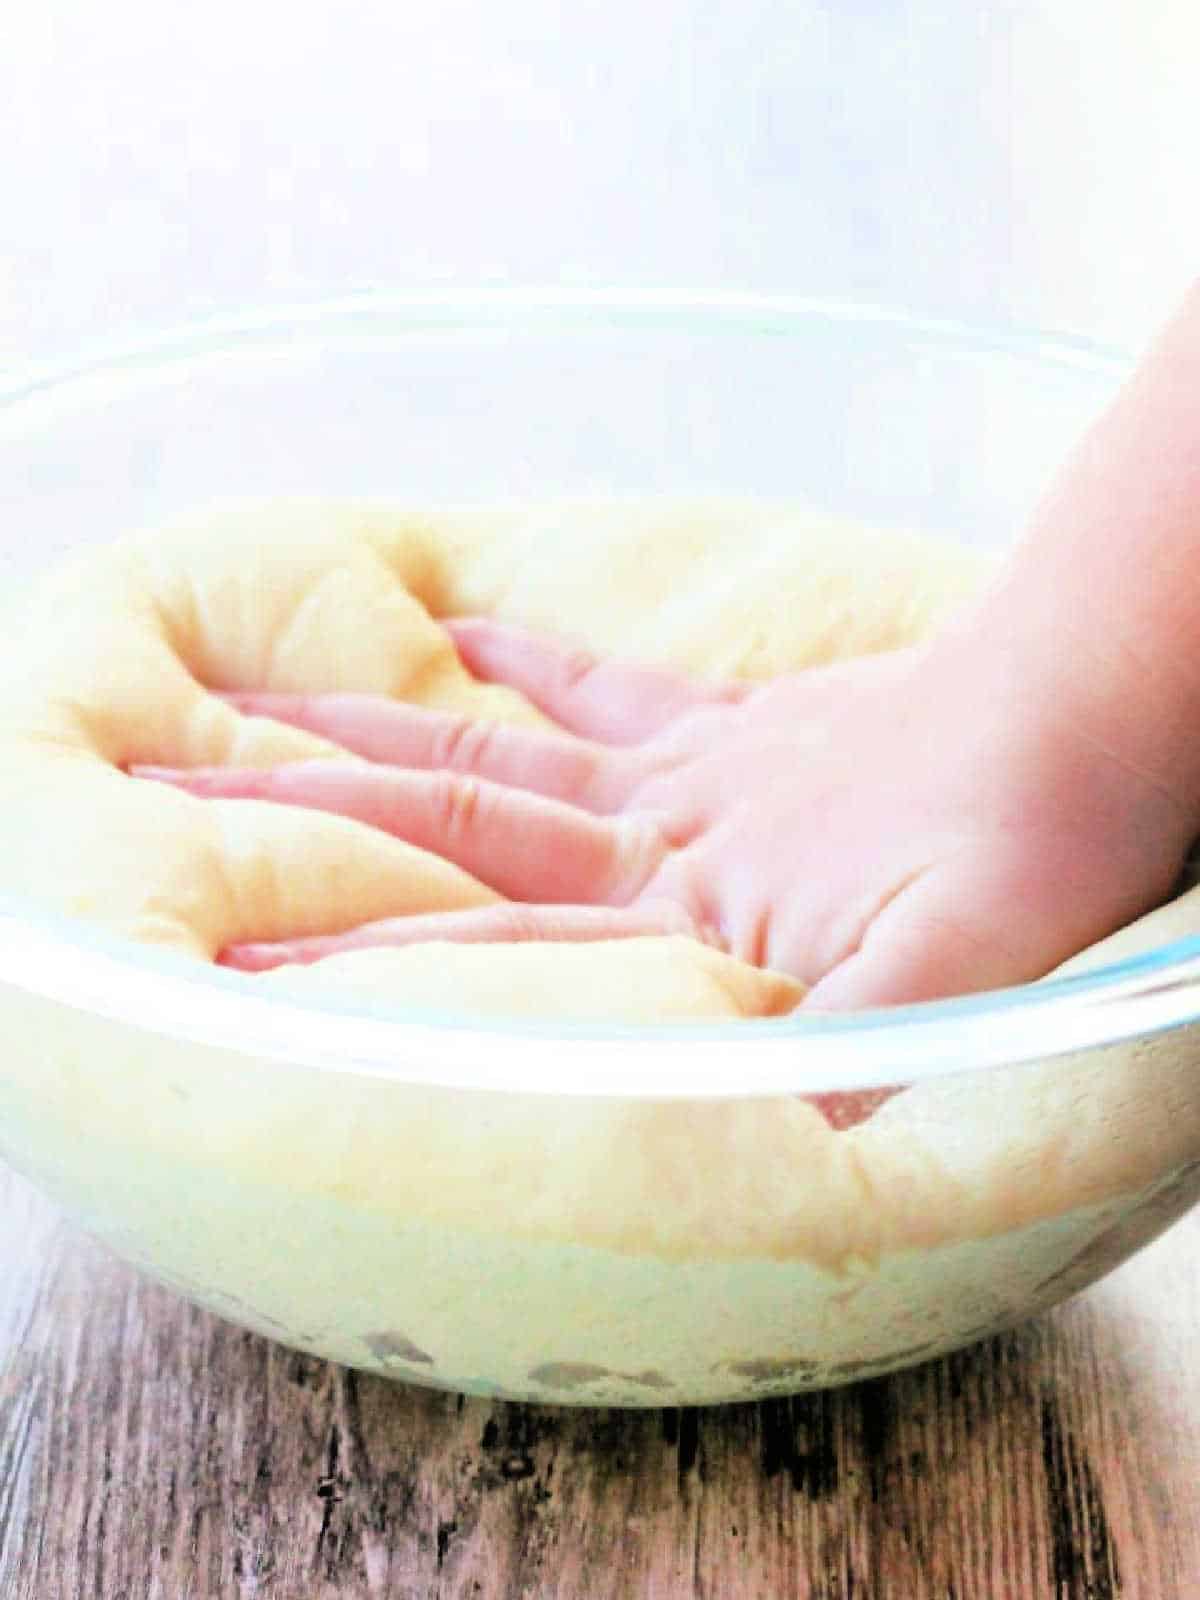
With the butter, egg and sugar in the dough I guess these rolls could be considered a type of brioche dough. They are absolutely delicious and I look forward to making them each holiday season starting at Thanksgiving. Attention novice bakers! This dough can be made in a stand mixer and it is very easy to shape into rolls. As long as they rise properly, they bake perfectly. My daughter has started helping me make them. I think it’s cool to have her helping make her great Grandma’s rolls.
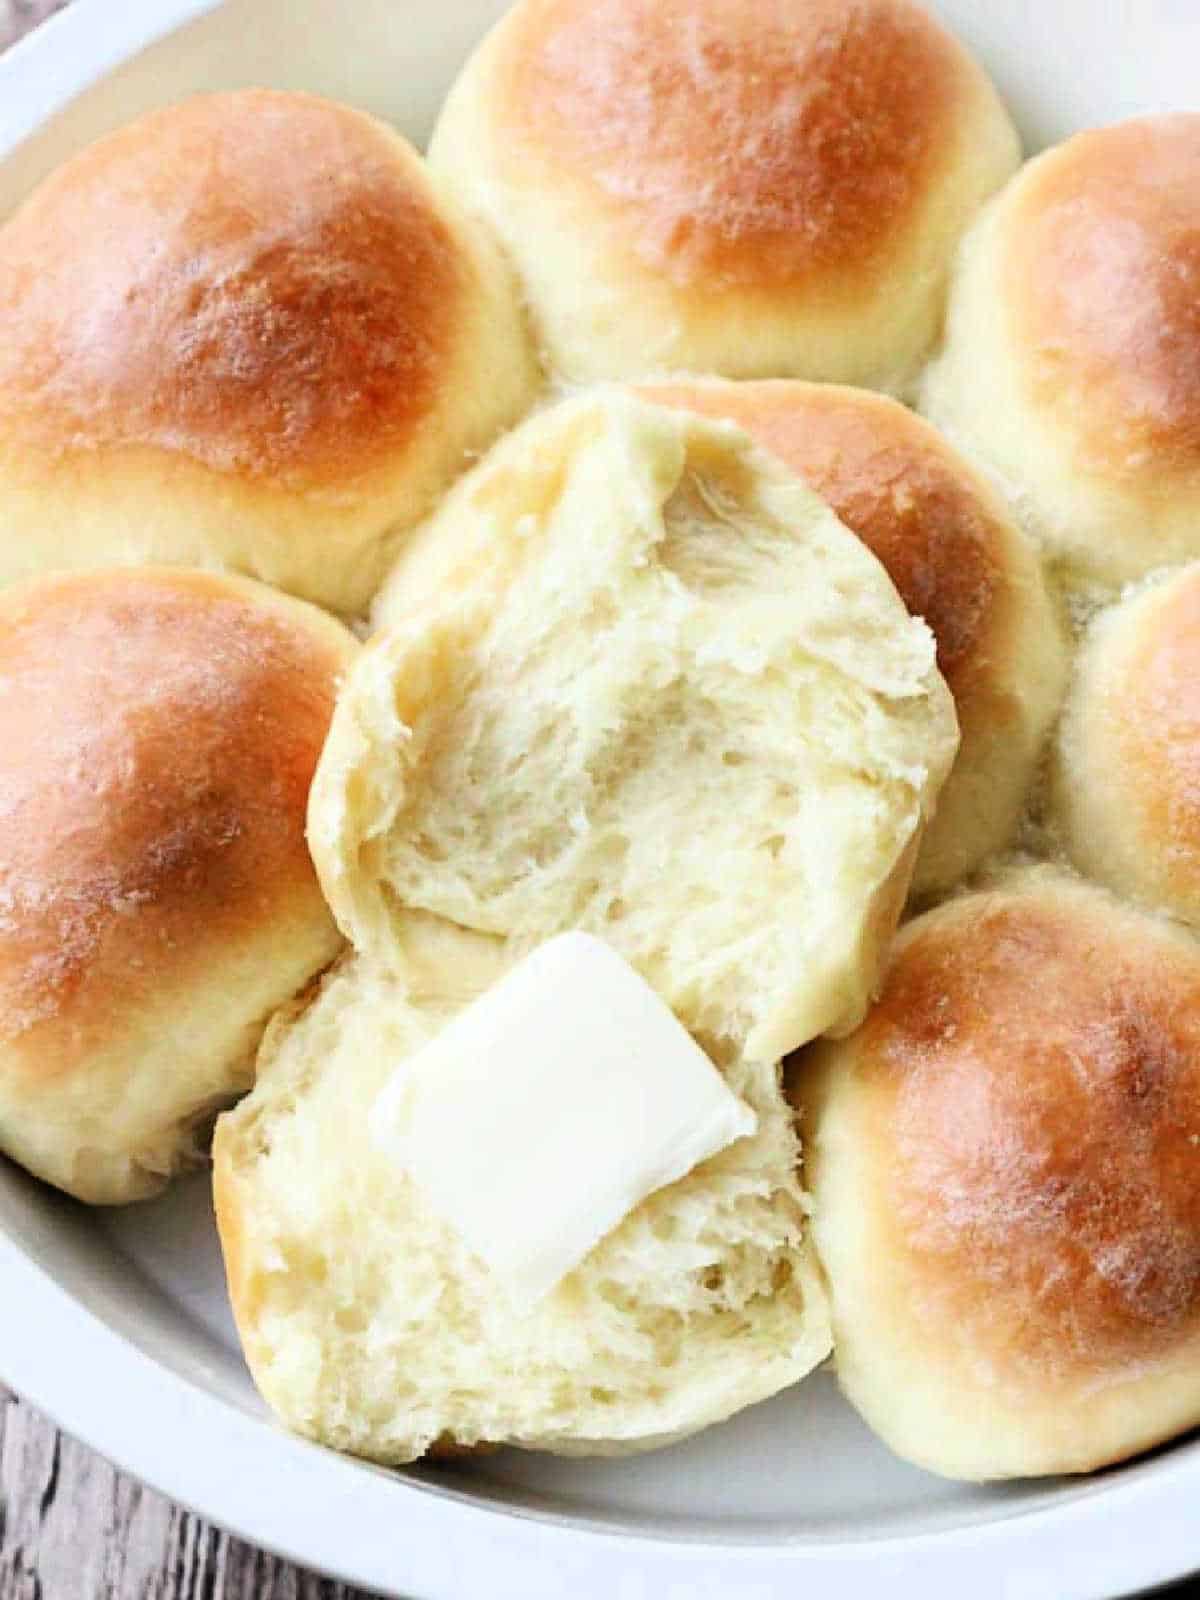
Make-ahead dinner rolls (freezer directions)
These rolls can be made ahead and frozen. Follow the recipe through the first rise. Then punch down the dough and shape it into rolls.
- Place the rolls in a single layer on a sheet pan lined with a silicone baking mat or parchment paper to prevent sticking. Freeze until solid, 2 – 4 hours.
- Transfer the rolls to a freezer safe zipper bag. The rolls will stay fresh in the freezer for 2 – 4 weeks.
- When you are ready to bake, place the rolls in a greased baking dish, about 1/2-inch apart. Spray plastic wrap with cooking spray on the side that is touching the rolls to prevent sticking. Cover the baking dish with the plastic wrap.
- Allow the rolls to thaw and rise in a draft-free, warm place until doubled in size, which can take 3 – 5 hours.
- Bake according to the recipe directions.
Tips for Grandma’s Dinner Rolls Recipe:
- I use a digital thermometer like this one to make sure the scalded milk is the correct temperature (105 – 110 degrees F) before adding it to the yeast.
- This dough browns quickly. It’s best to bake these rolls with your oven rack set to the lower middle part of your oven.
- You can shape the rolls ahead of time and freeze them. See the freezer directions above.
How to store leftover dinner rolls
Store leftover baked rolls in an airtight container or zipper bag at room temperature. They will keep for 2 – 4 days.

Grandma's Dinner Rolls Recipe
Ingredients
- 1/4 cup sugar
- 2 packets active dry yeast
- 2 cups milk scalded and cooled to between 105 and 110 degrees F
- 1 stick (8 tbsp) unsalted butter
- 2 large eggs
- 6 cups all-purpose flour
- 3 tsp salt
Instructions
- Place milk in a microwave-safe glass measuring cup. Microwave for 4 minutes. Place in refrigerator and allow to cool to between 105 - 110 degrees F.
- Melt butter and set aside to cool.
- In the bowl of a stand mixer fitted with the dough hook, combine the 6 cups of flour and salt.
- Remove the milk from the refrigerator and whisk in the yeast and sugar. Allow to rest for 5 minutes.
- Beat the 2 eggs into the melted butter. Add the yeast, sugar and milk mixture to the flour and salt and knead on low speed until dough begins to come together. Stop mixer and add the eggs and melted butter. Knead the dough, scraping down the sides of the bowl if necessary, for 6 minutes.
- Remove the dough hook and bowl from the stand mixer. Cover the dough ball in the bowl loosely with a towel.
- Place the dough bowl in a warm spot and allow to rise for about 60 minutes or until dough is doubled in size.
- Gently push down on the dough to deflate. Place on clean counter and evenly divide dough into 8 log-shaped pieces, using a bench scraper or sharp knife.
- Cut each of the eight dough logs into four equal pieces, giving you 32 rolls. Gently cup each roll in your hand to "plump" them up a bit in the center.
- Place the rolls in well-greased baking dishes, spaced about 1/2-inch apart. Place dishes in a warm spot and cover loosely with a towel. Allow rolls to rise in baking dishes for 60 minutes more.
- Bake at 375 degrees for 14 - 18 minutes. Watch closely in the last few minutes to make sure tops don't over brown.
- Brush the tops of the rolls with melted butter when they come out of the oven. Serve warm.
Notes
Nutrition
Foodtastic Mom is a participant in the Amazon Services LLC Associates Program (Amazon Associate), an affiliate advertising program designed to provide a means for sites to earn advertising fees by advertising and linking to Amazon.com. Any highlighted, clickable Amazon links you see are affiliate links that I may earn advertising fees on when you click to purchase.
Thank you so much for being a faithful reader and supporter of Foodtastic Mom. Be sure to PIN to Pinterest and print this recipe! Like and tag ‘Foodtastic Mom’ on Facebook and Instagram if you make this recipe! And of course leave a star rating if you make any of my recipes and enjoy them!

Be sure and follow Foodtastic Mom on TikTok, Facebook, Pinterest and Instagram!
More Thanksgiving Recipes:
See all of my Thanksgiving recipes in one place.
Wade says
can you bake these on a cookie sheet?
Jill McOwen says
You can. But baking the rolls spaced out on a cookie sheet means more surface area on each roll will be exposed to the full blast of heat from the oven. The rolls won’t be as soft and pillowy as when they are baked in a pan and are touching each other.